
Your client comes in for a refill and the lash line looks noticeably thinner than it should. The first thought is obvious: the adhesive is no good, a new one is needed. Sometimes that is true. In many cases, though, the cause lies elsewhere – in the preparation, the room climate, the isolation or the client's routine at home. If you switch adhesive then, you change a variable that was never the problem and face the same picture at the next refill.
That is why this article is not a list of mistakes but a diagnostic guide: you first observe how the extensions fall out, then narrow down the cause and change one point at a time. If you want a compact recap of the basics on cleansing, amount of adhesive and isolation, you will find them in our article The most common mistakes in eyelash extensions.
Observe first: how are the extensions falling out?
Before you change anything in your routine, take a close look at the refill. The fallout pattern often gives you the first clue about where to look. Also ask your client when she lost most of the extensions.
“When a client has noticeably fewer extensions than usual after two weeks, I look at the fallout pattern first. I don't switch the adhesive straight away.” – Samira
Many extensions in the first days, without the natural lash
If the extensions come off early and the natural lash stays, the bond between adhesive and lash did not hold properly. Typical suspects are the preparation, an adhesive that is no longer fresh, or a room climate outside the ideal range.
Extensions fall out together with the natural lash
If the extension falls out together with the natural lash, it is not automatically an adhesive problem. Natural lashes have their own growth cycle and shed regularly. Individual losses spread over the weeks are usually normal. If, however, many natural lashes fall out conspicuously early, it is worth looking at isolation and the weight of the extensions.
Stuck-together lashes or extensions growing out at an angle
If extensions stick out crosswise at the refill or several natural lashes are joined together, this points to stickies – in other words, to imprecise isolation.
The problem only affects certain clients
If your work holds well on most clients and only fails on a few, the cause often lies with the client herself: skin oil, care products or her routine at home.
Cause 1: The natural lash is not cleanly prepared
Every natural lash carries a film of sebum, make-up residue and care products. Adhesive bonds less well on this film. That is why good retention starts before the first drop of adhesive: cleanse thoroughly, for example with the Lash Shampoo and the Cleansing Brush or alternatively with the Lash Cleansing Water. Then let the lashes dry completely.
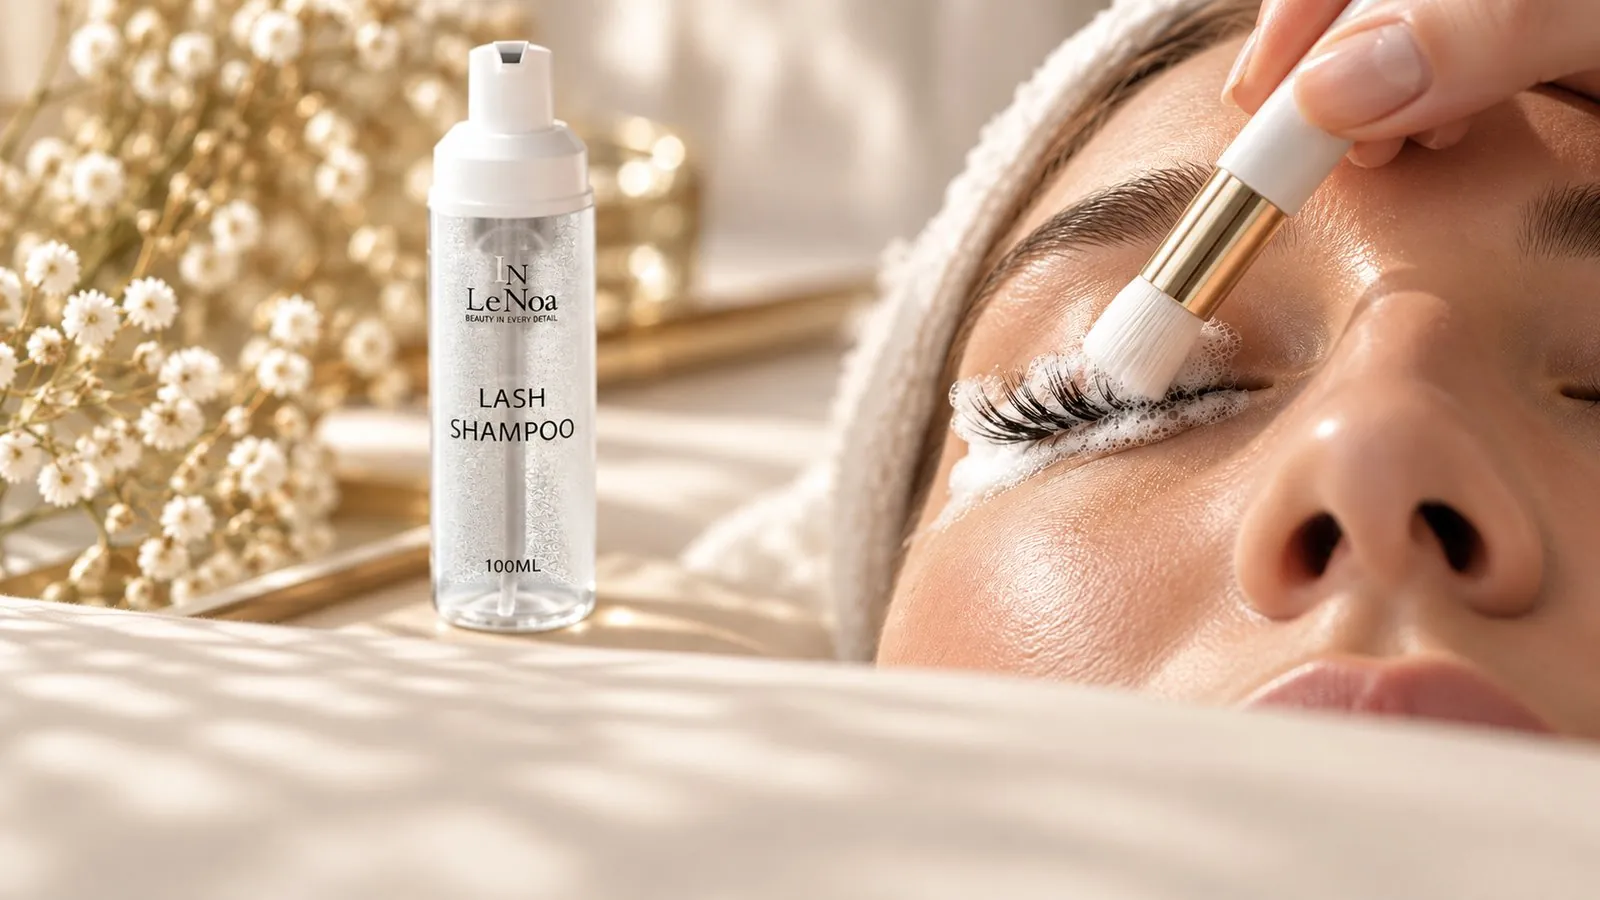
The second step is the Lash Primer. In Samira's studio the primer is part of the preparation because it degreases the natural lash and creates a clean base for the bonding point. Especially in the first months this step is often skipped because it takes time.
“Uncleansed lashes have a film of sebum and make-up. Cleanse first, then primer – in that order.” – Samira, Head Trainer of the Le Noa Academy
Cause 2: The adhesive is no longer fresh
A lash adhesive changes as soon as it comes into contact with air. This applies to the drop on the glue holder just as much as to the opened bottle.
The adhesive drop
The drop on the Glue Holder starts to cure immediately. After a while it becomes thicker and the bond to the natural lash gets weaker, even if it still looks fine while you work. That is why Samira renews the adhesive drop every 15 to 20 minutes in the studio – even when the drop still looks good.
The bottle
An opened bottle does not last forever either. Store it upright, cool, dark and tightly closed. Write the opening date directly on the bottle.
“After 4 to 6 weeks open, I take a new bottle – even if there is still adhesive in it.” – Samira
The amount
More adhesive does not mean more retention. Too much adhesive makes the bond heavy, cures unevenly and increases the risk of neighbouring lashes sticking together.
Cause 3: The room climate is off – especially during the heating season
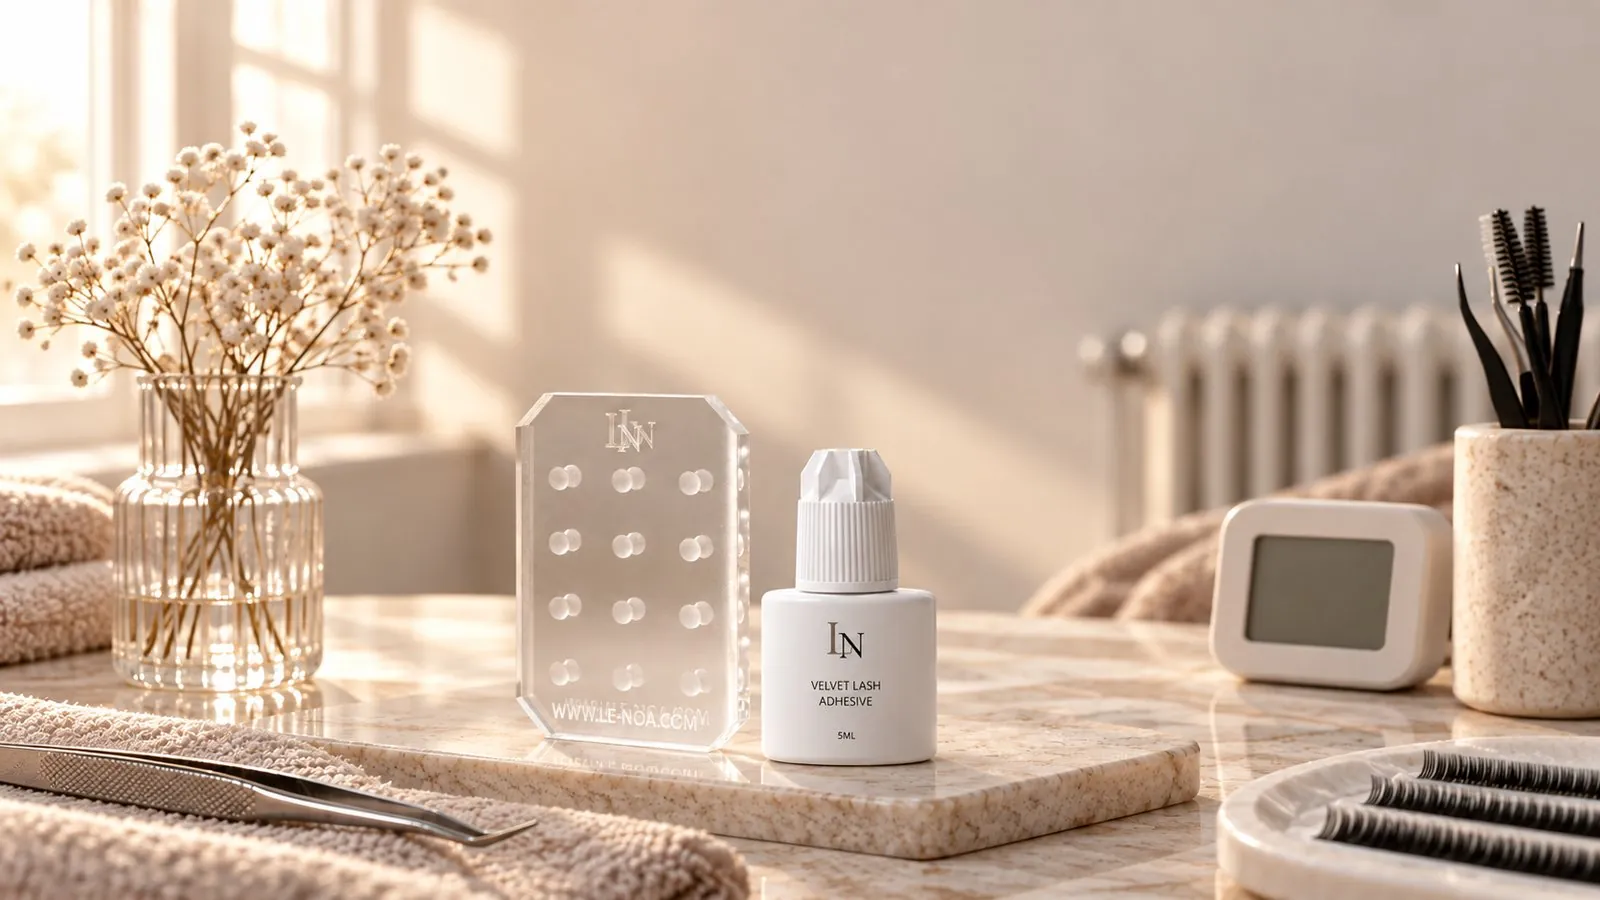
Cyanoacrylate adhesives, as commonly used for lash extensions, need humidity to cure. The optimum lies between 45 and 70 percent. If the air is too dry, the adhesive cures more slowly and the bond can turn out weaker. If it is clearly too humid, the adhesive can set faster than you are used to.
Right now in autumn this point is worth a look: as soon as the heating is on, humidity drops noticeably in many studios. A technique that worked reliably in summer can then suddenly deliver weaker results – without you doing anything differently.
A hygrometer at your workstation shows you where you stand. If the value stays below 45 percent, a humidifier in the treatment room can help. It is important not to measure the value only once but to keep an eye on it throughout the day.
Cause 4: Isolation and stickies
Every extension belongs on exactly one natural lash. If two natural lashes are glued together, they keep growing at different speeds and pull on each other. The result: the bond comes loose earlier, and it can become uncomfortable for the client.
A fixed routine helps with clean isolation: make the lash line clearly visible, cover the lower lash line cleanly with Hydrogel Eye Pads , separate every natural lash completely and check again after placing. A final check at the end of the treatment, going through lash by lash, uncovers stickies before the client leaves the studio.
Cause 5: Adhesive and working speed don't match
Every adhesive has a setting time, and it has to suit your hand. If the adhesive is too fast for your pace, it cures before the extension sits cleanly on the natural lash. The bond looks finished but has too little contact surface. If it is too slow, the extension slips more easily and the temptation to use more adhesive grows.
If you are not sure whether your adhesive suits you: the Adhesive Finder gives you a clear recommendation in four questions. We write about setting times and working speed in detail in our article “Which lash adhesive suits which working speed?”, which will be published at the end of October.
Cause 6: The last step in the studio – the bonder
After application, a bonder can additionally support the bond. The Super Bonder seals the bonding points directly after placing: apply a small amount with the Micro Brush Long Tip along the bonding points and let it dry briefly. It does not replace clean preparation, but it can be a useful final step in your routine – especially for clients whose retention varies.
Cause 7: The client – skin oil, care and routine at home
Not every cause lies in the studio. Some clients have oilier skin, use oil-based cleansing products or creams close to the eye, sleep on their face or rub their eyes often. Changes in skin, care habits or other personal factors can also play a role. That is why a thorough consultation is part of every treatment for us.
What you can influence: a thorough consultation before the first treatment and clear aftercare instructions to take home. These include oil-free cleansing, for example with the Lash Shampoo, gentle daily brushing and the advice to keep the lashes dry as far as possible in the first hours after the treatment.
“When only individual clients have problems, I first ask about their routine at home. Consultation and aftercare are part of every treatment.” – Samira
Retention or growth? The refill rhythm
Not every thin lash line is a retention problem. If a client only comes in for a refill after five or six weeks, many extensions have simply grown out with the natural lash. A refill rhythm of about two to three weeks makes the assessment much easier.
Diagnostic checklist
Before you switch adhesive, go through these points:
- Natural lashes cleansed (Lash Shampoo or Lash Cleansing Water) and completely dry?
- Lash Primer applied?
- Adhesive drop renewed within the last 15–20 minutes?
- Bottle open for less than 4–6 weeks, stored upright and cool?
- Room humidity between 45 and 70 percent?
- Each natural lash isolated individually, final check done?
- Adhesive setting time suits your working speed?
- Consultation done and aftercare handed over?
Always change only one point per round so that you can tell at the next refill what helped. The checklist is also available to print: Retention checklist.
Frequently asked questions
How often should I renew the adhesive drop?
Samira renews the adhesive drop every 15 to 20 minutes. An older drop becomes thicker and can weaken the bond.
How long can I use an opened lash adhesive?
Samira recommends taking a new bottle after 4 to 6 weeks of being open. Note the opening date and store the adhesive upright, cool, dark and tightly closed.
What humidity is ideal for lash adhesive?
For cyanoacrylate adhesives the optimum range is 45 to 70 percent. A hygrometer at your workstation helps you keep an eye on the value, especially during the heating season.
Do I really need a lash primer?
In Samira's studio the primer is part of the preparation because it degreases the natural lash and creates a clean base for the bonding point.
Do I have to switch adhesive if retention is poor?
Not necessarily. First check preparation, room climate, isolation, freshness of the adhesive and the client's routine. If the setting time does not suit your pace, a different adhesive can make sense – the Adhesive Finder helps you choose.
Your next step
Get the Retention checklist for your workstation and go through it point by point the next time you have a retention problem. And if you want to know whether your adhesive suits your pace, take the Adhesive Finder – four questions, one clear recommendation.
Retention is best practised on real lashes. If you want to go deeper, you will find the current dates on the page of the Le Noa Academy.
About the author
Samira Kruckenhauser is Head Trainer of the Le Noa Academy and has been working with lashes for more than 10 years – to this day in real studio practice at the Le Noa Studio. In the Academy she shows artists how to narrow down retention problems step by step.